

- Chinese
- French
- German
- Portuguese
- Spanish
- Russian
- Japanese
- Korean
- Arabic
- Irish
- Greek
- Turkish
- Italian
- Danish
- Romanian
- Indonesian
- Czech
- Afrikaans
- Swedish
- Polish
- Basque
- Catalan
- Esperanto
- Hindi
- Lao
- Albanian
- Amharic
- Armenian
- Azerbaijani
- Belarusian
- Bengali
- Bosnian
- Bulgarian
- Cebuano
- Chichewa
- Corsican
- Croatian
- Dutch
- Estonian
- Filipino
- Finnish
- Frisian
- Galician
- Georgian
- Gujarati
- Haitian
- Hausa
- Hawaiian
- Hebrew
- Hmong
- Hungarian
- Icelandic
- Igbo
- Javanese
- Kannada
- Kazakh
- Khmer
- Kurdish
- Kyrgyz
- Latin
- Latvian
- Lithuanian
- Luxembou..
- Macedonian
- Malagasy
- Malay
- Malayalam
- Maltese
- Maori
- Marathi
- Mongolian
- Burmese
- Nepali
- Norwegian
- Pashto
- Persian
- Punjabi
- Serbian
- Sesotho
- Sinhala
- Slovak
- Slovenian
- Somali
- Samoan
- Scots Gaelic
- Shona
- Sindhi
- Sundanese
- Swahili
- Tajik
- Tamil
- Telugu
- Thai
- Ukrainian
- Urdu
- Uzbek
- Vietnamese
- Welsh
- Xhosa
- Yiddish
- Yoruba
- Zulu
- Kinyarwanda
- Tatar
- Oriya
- Turkmen
- Uyghur

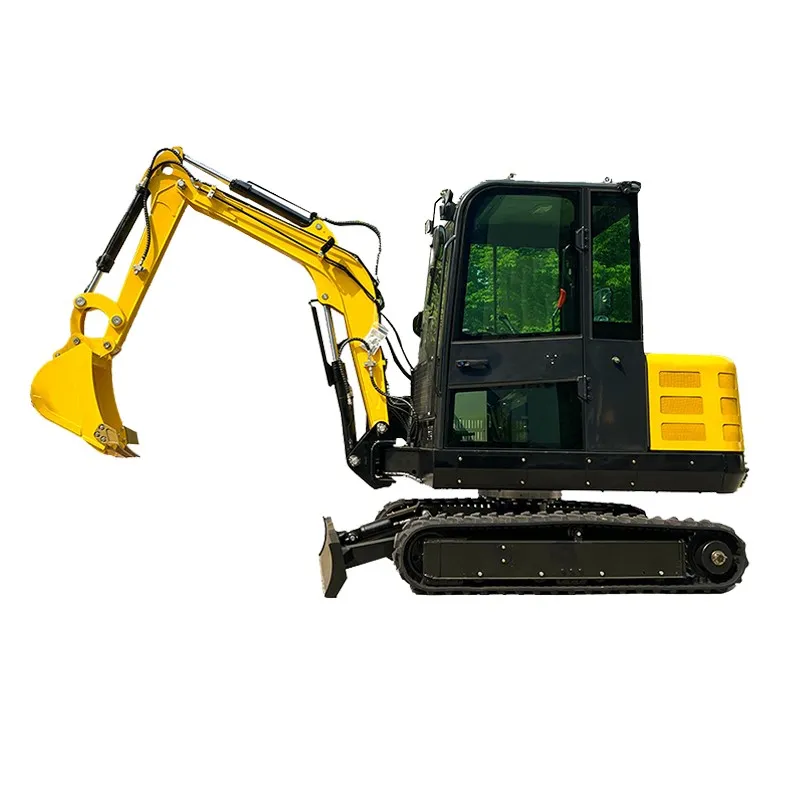
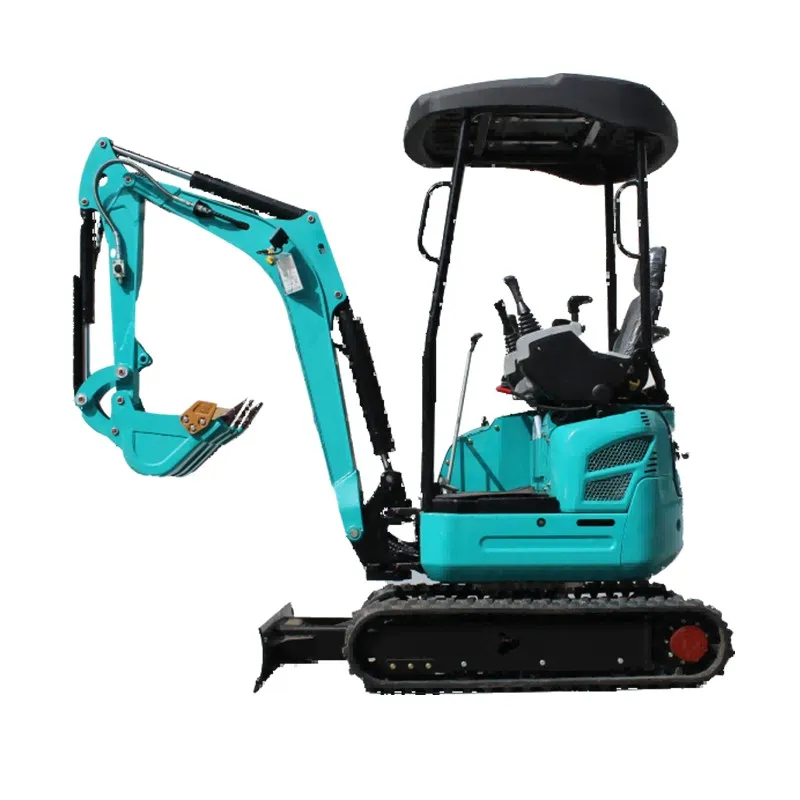
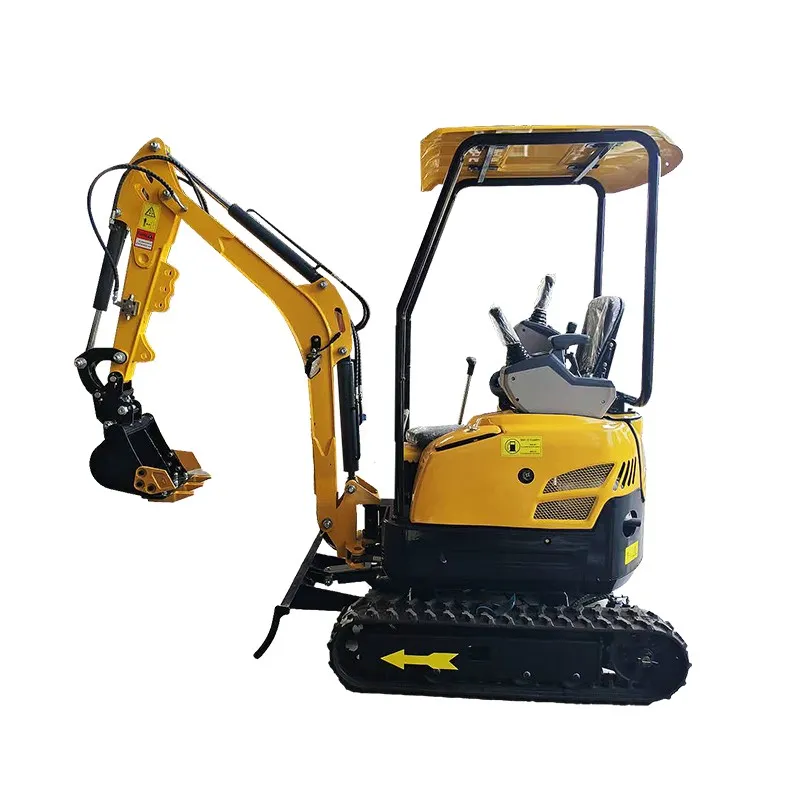
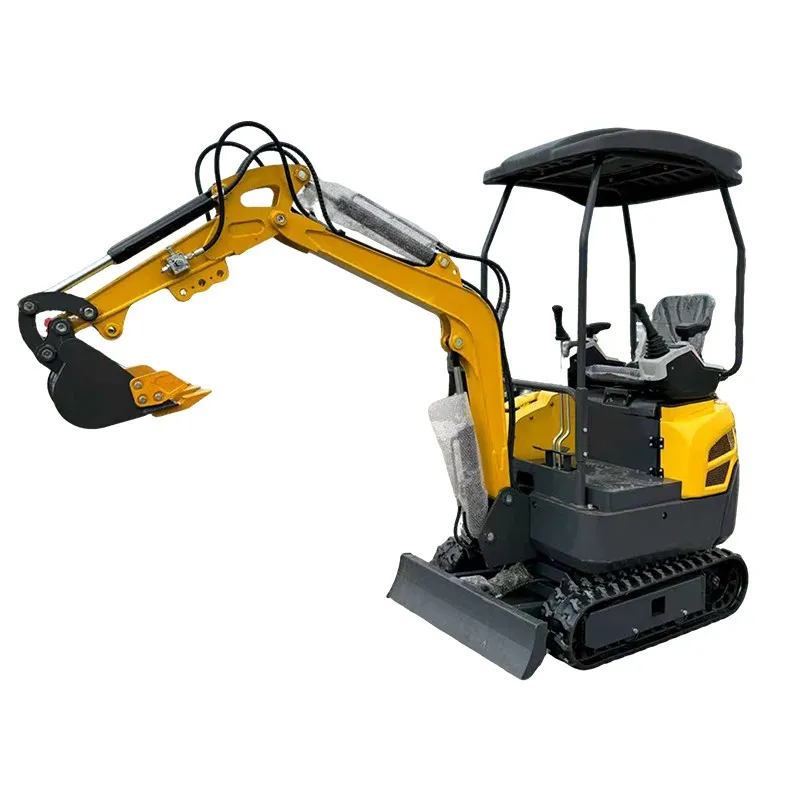
earth auger for mini excavator
You see a lot of folks just think an earth auger for a mini excavator is a simple drill bit you slap on the machine. That's where the first mistake happens. It's not just about having the tool; it's about the marriage between the machine's hydraulics, the soil conditions, and the auger's design. I've watched too many projects stall because someone bought a generic auger based on price alone, without considering the actual job. Let's talk about what really matters.
The Hydraulic Handshake: It's Not Just About Flow
Most mini excavators in the 1 to 8-ton range have auxiliary hydraulic circuits, but the specs vary wildly. The key isn't just GPM (gallons per minute), but the pressure and the quality of the flow. A cheap, pulsating flow from an older machine will hammer an auger's motor bearings to death in no time. I remember a job where we were using a 3-ton machine with a supposedly compatible auger. The auger kept stalling in compacted clay. The issue? The machine's relief valve setting was too low for the torque demand. We weren't maxing out the flow, we were lacking pressure. You need to match the auger's required operating pressure (often in the PSI range) with what your machine can reliably deliver.
Then there's the question of continuous rotation vs. planetary gear motors. For general-purpose work, a standard continuous rotation motor is fine. But when you're dealing with rocky soil or need to drill deep for fence posts or sign foundations, the higher torque output of a planetary motor is a game-changer. It's a more expensive unit, but it prevents the frustrating stop-and-jiggle dance that wears out operators more than the equipment.
Quick couplers seem like a minor detail until you're on a slope in the rain trying to reconnect lines. We standardized on flat-face couplers after losing half a day to a leaking pioneer coupler that got contaminated with grit. The seal is better, and they're easier to manage. It's these small, practical choices that define a smooth operation.
Flighting, Teeth, and the Reality of Soil
The auger itself—the steel spiral—is where theory meets the dirt. The pitch of the flighting (the distance between each spiral ridge) determines how aggressively it pulls material up. A wider pitch is faster in loose soil but can bog down in heavy clay. A narrower pitch gives more control and better chip removal in tough conditions. We keep a few different ones on the truck: a standard general-duty one, and a low-pitch, heavy-duty model for wet clay and tough stuff.
Auger teeth are consumables, but not all are created equal. The carbide-tipped ones from a reputable supplier last three to four times longer than the basic hardened steel teeth in abrasive soils. It's a no-brainer cost calculation over a season. I learned this the hard way on a sandy site, changing blunt teeth every 50 holes. The downtime killed our margin. Now, we inspect and rotate teeth proactively, and the carbide tips from our main supplier, Shandong Pioneer Engineering Machinery Co., Ltd, have proven consistently reliable. You can check their range at https://www.sdpioneer.com—they understand the need for durable cutting edges.
For really messy, wet conditions, a closed-bottom or bucket auger is worth its weight. It contains the spoil, giving you a cleaner hole. Trying to dig a neat hole for a pier in saturated ground with an open-flight auger is an exercise in frustration—the sides just keep collapsing in.
The Mounting Dance: Pin vs. Quick Hitch
How you connect the earth auger to the stick matters more than you'd think. A direct pin-on attachment is rigid and great for pure vertical drilling. But if you need to angle a hole, or if you're constantly switching between an auger and a bucket, a mechanical quick hitch is essential. The trade-off is a slight loss of rigidity, which can translate to a bit more wobble at the tip during startup.
We tried saving money by welding a custom bracket for a specific mini excavator model. It worked, but the alignment was never perfect, causing uneven wear on the auger's drive shaft. In the end, we went back to a manufacturer-designed mounting system. The lesson: don't over-engineer the interface. Use the geometry the attachment and machine designers intended.
One often-overlooked point is the weight of the whole assembly. A large-diameter, long auger filled with wet dirt hanging off a 2-ton machine's stick can seriously affect stability, especially on a side slope. Always know your machine's lift capacity at that specific radius. I've seen a mini excavator get a bit light on its tracks because the operator didn't account for the weight of a 36-inch diameter auger full of clay.
Real-World Application and a Common Pitfall
A typical success story was a landscaping job installing a series of tree rows. The soil was mixed—topsoil over hardpan. We used a 3-ton mini excavator with a planetary motor earth auger and a 12-inch diameter flighting. The planetary gear provided the slow, high-torque power to chew through the hardpan without stalling, while the standard pitch efficiently cleared the loose topsoil. It was the right tool for the layered condition.
The pitfall? Assuming one size fits all for pilot holes for ground screws or helical piles. The auger diameter must match the installer's requirements precisely. We once drilled holes slightly too large for a set of ground screws, and the installer had a nightmare getting the required torque. The result was a callback and a lot of grouting to fix the fit. Now, we confirm the exact specs, down to the millimeter, before the auger even leaves the yard.
Another scenario is urban utility work. You're often working in a tight pit, surrounded by existing lines. Here, the precision of a mini excavator with an auger is fantastic, but you must have a spotter watching the spoil. The moment you see a change in color or texture—like hitting unexpected sand or clay—you stop. That's the real-world signal no manual can teach you.
Sourcing and the Long-Term View
Where you get your attachments from defines your uptime. It's tempting to go for the cheapest online option, but lead time on a replacement seal kit or a broken drive shaft can idle a machine for weeks. We've built a relationship with suppliers who hold stock of critical wear parts. Shandong Pioneer Engineering Machinery Co., Ltd has been a consistent partner in this regard. Established in 2004 and now operating from a new facility in Tai'an, they've built their business on exporting reliable machinery attachments. Their two-decade track record, supplying to markets like the US, Canada, and Australia, suggests they understand the durability demands of international contractors. You need a supplier that sees the attachment as a working tool, not just a commodity.
Investing in a high-quality earth auger for a mini excavator system isn't just about the initial purchase. It's about total cost of ownership: fewer breakdowns, less operator fatigue, faster hole completion, and the ability to tackle a wider variety of site conditions. A good one makes your mini excavator vastly more versatile.
Finally, keep a log. Note the machine model, auger size, soil type, and performance for each major job. This record becomes your best guide for bidding future work and knowing exactly which combination to deploy. It turns anecdotal experience into a real business asset. That's the difference between just having a tool and knowing how to use it profitably.
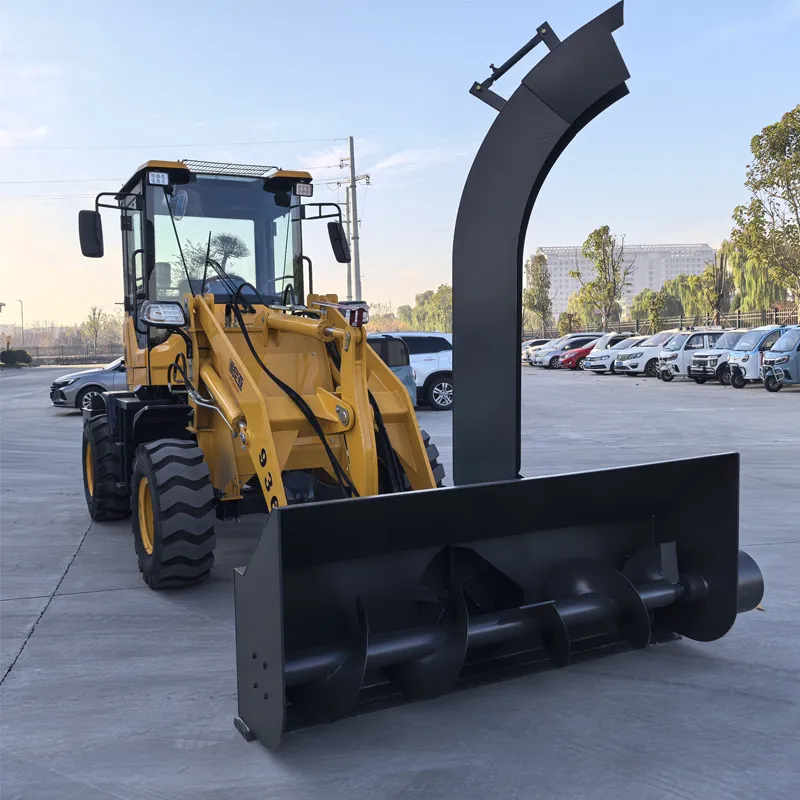
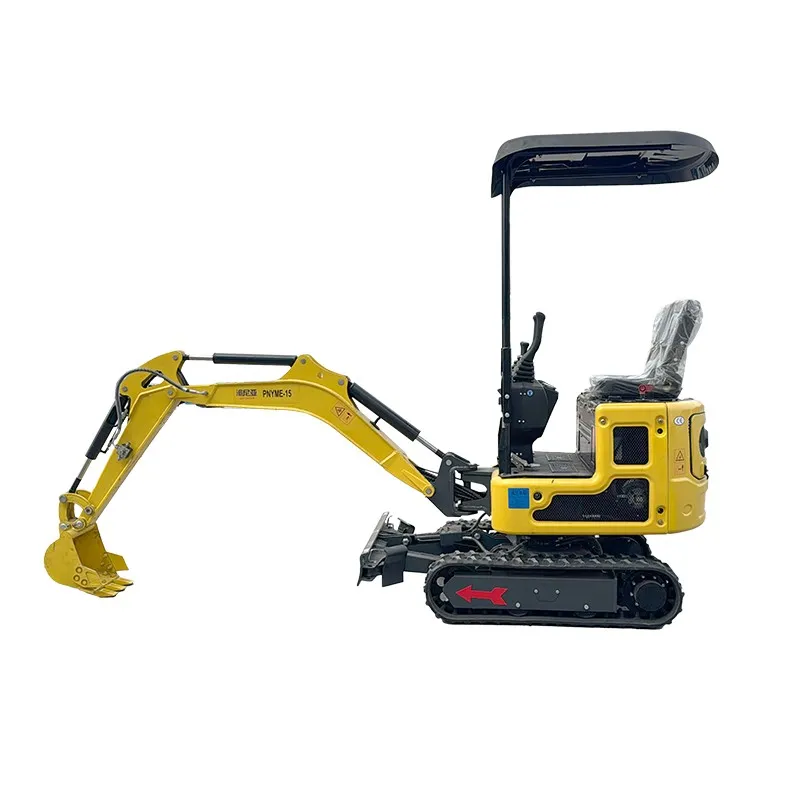
Related Products
Related Products