

- Chinese
- French
- German
- Portuguese
- Spanish
- Russian
- Japanese
- Korean
- Arabic
- Irish
- Greek
- Turkish
- Italian
- Danish
- Romanian
- Indonesian
- Czech
- Afrikaans
- Swedish
- Polish
- Basque
- Catalan
- Esperanto
- Hindi
- Lao
- Albanian
- Amharic
- Armenian
- Azerbaijani
- Belarusian
- Bengali
- Bosnian
- Bulgarian
- Cebuano
- Chichewa
- Corsican
- Croatian
- Dutch
- Estonian
- Filipino
- Finnish
- Frisian
- Galician
- Georgian
- Gujarati
- Haitian
- Hausa
- Hawaiian
- Hebrew
- Hmong
- Hungarian
- Icelandic
- Igbo
- Javanese
- Kannada
- Kazakh
- Khmer
- Kurdish
- Kyrgyz
- Latin
- Latvian
- Lithuanian
- Luxembou..
- Macedonian
- Malagasy
- Malay
- Malayalam
- Maltese
- Maori
- Marathi
- Mongolian
- Burmese
- Nepali
- Norwegian
- Pashto
- Persian
- Punjabi
- Serbian
- Sesotho
- Sinhala
- Slovak
- Slovenian
- Somali
- Samoan
- Scots Gaelic
- Shona
- Sindhi
- Sundanese
- Swahili
- Tajik
- Tamil
- Telugu
- Thai
- Ukrainian
- Urdu
- Uzbek
- Vietnamese
- Welsh
- Xhosa
- Yiddish
- Yoruba
- Zulu
- Kinyarwanda
- Tatar
- Oriya
- Turkmen
- Uyghur

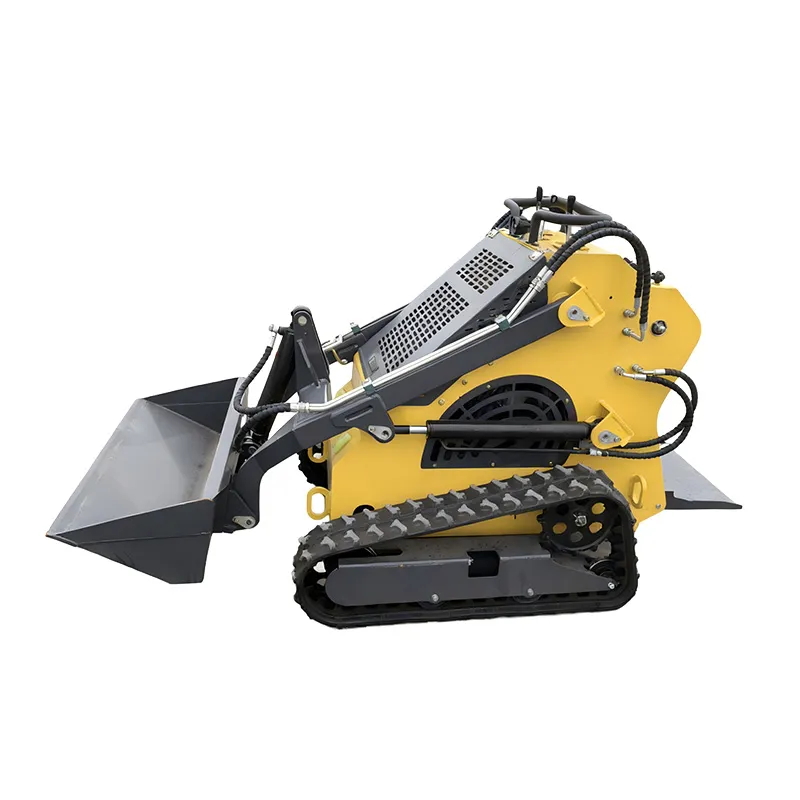
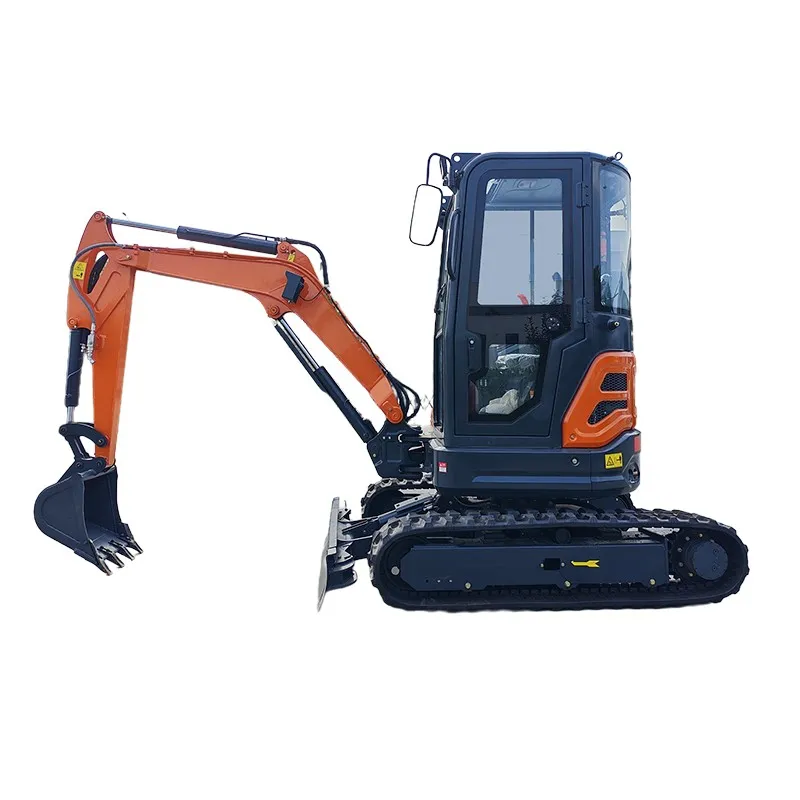
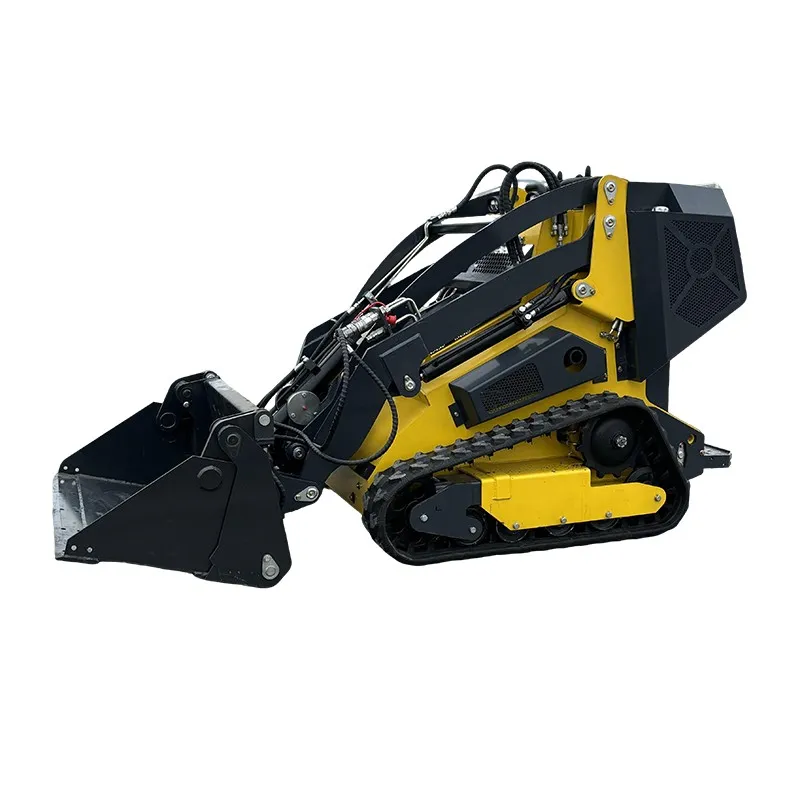
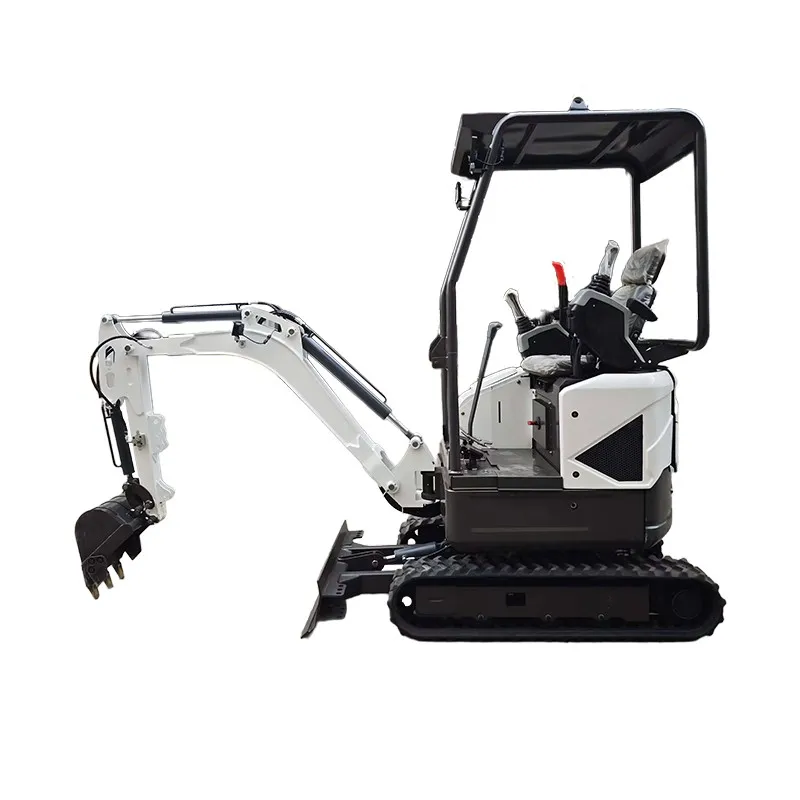
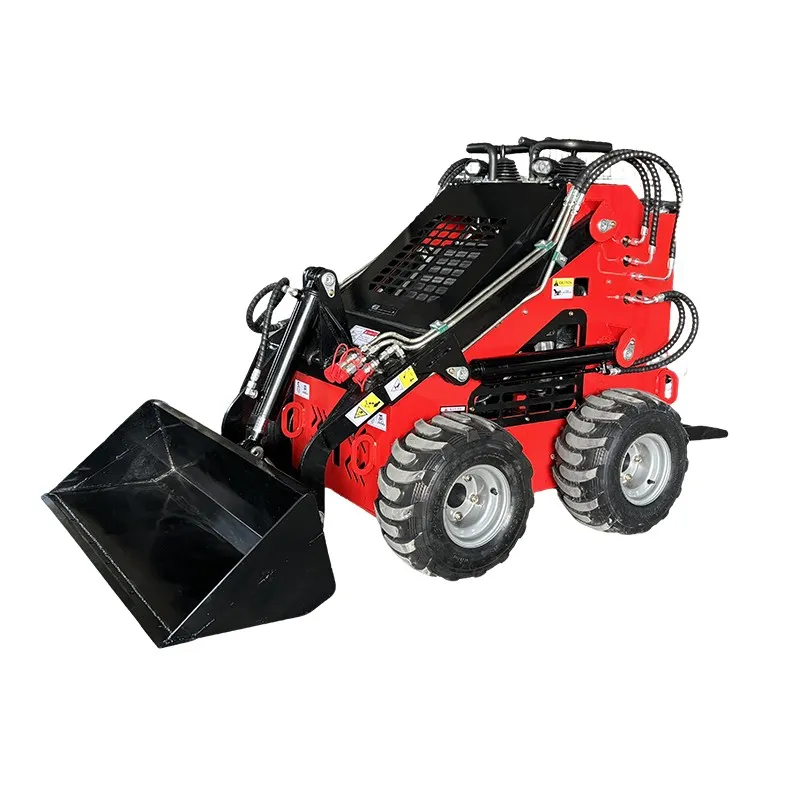
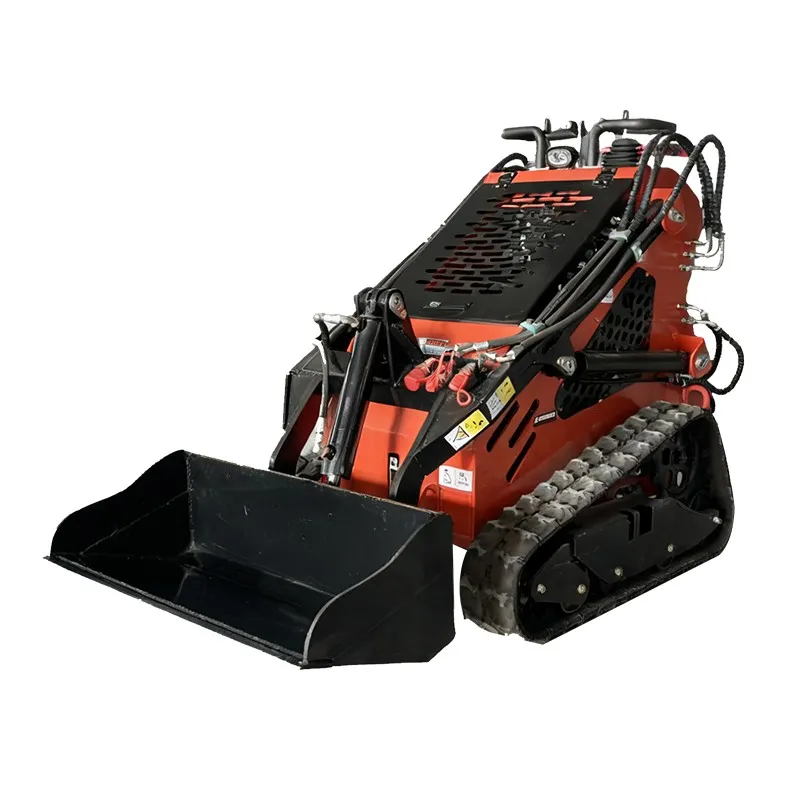
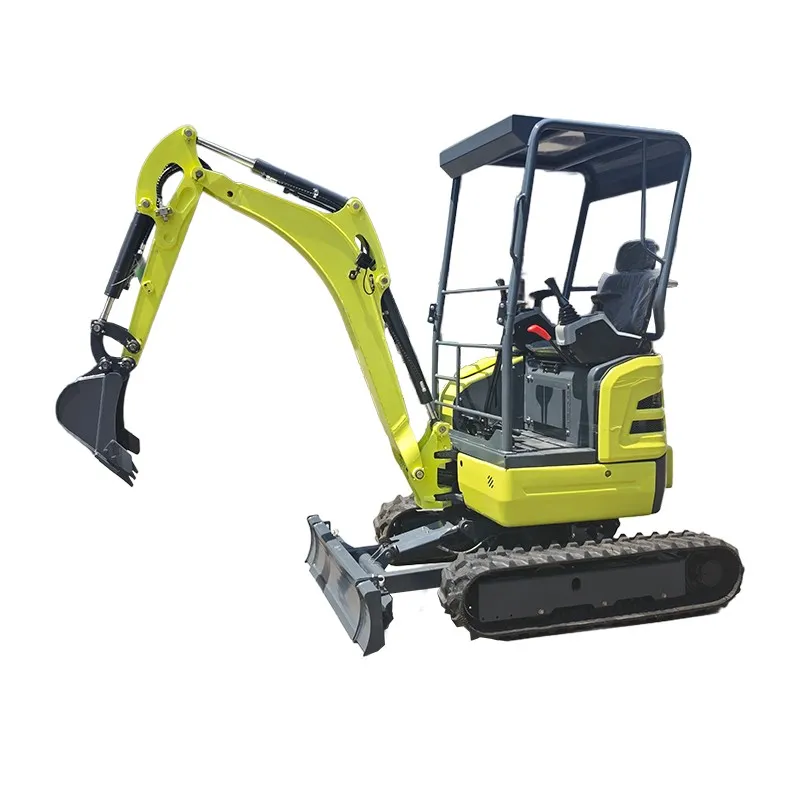
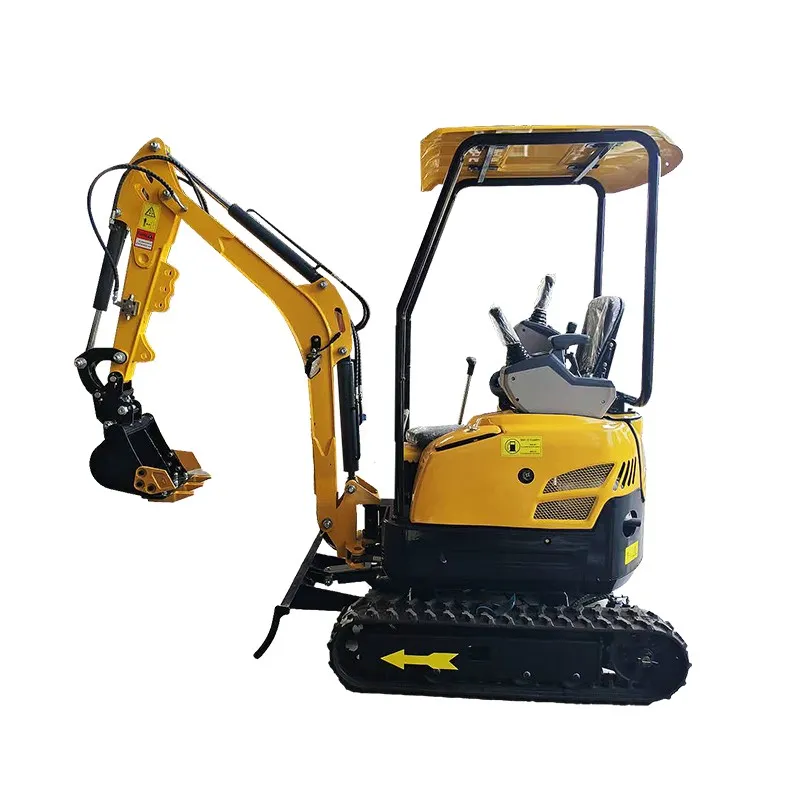
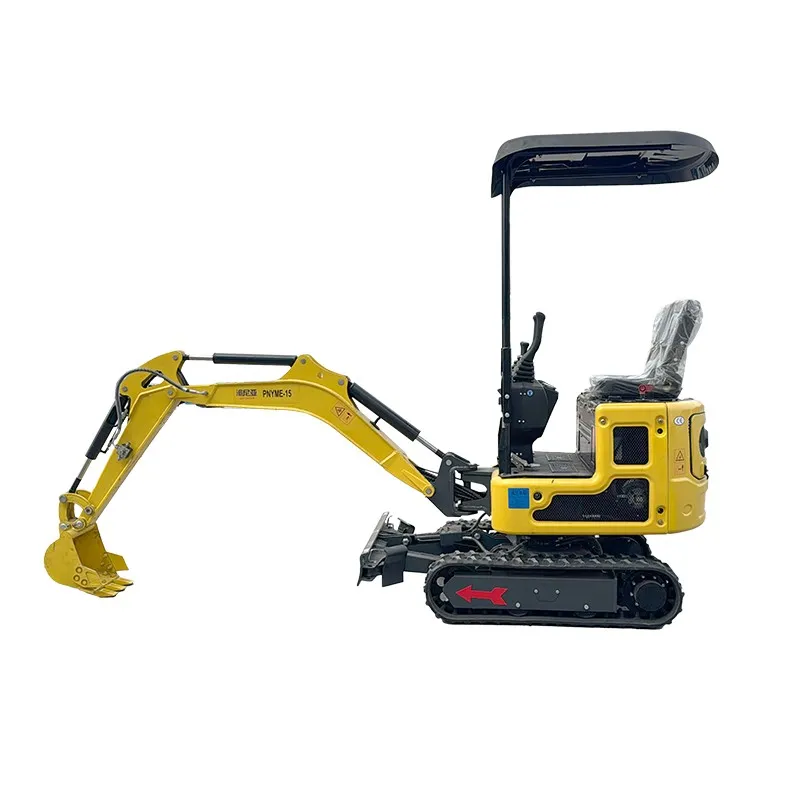
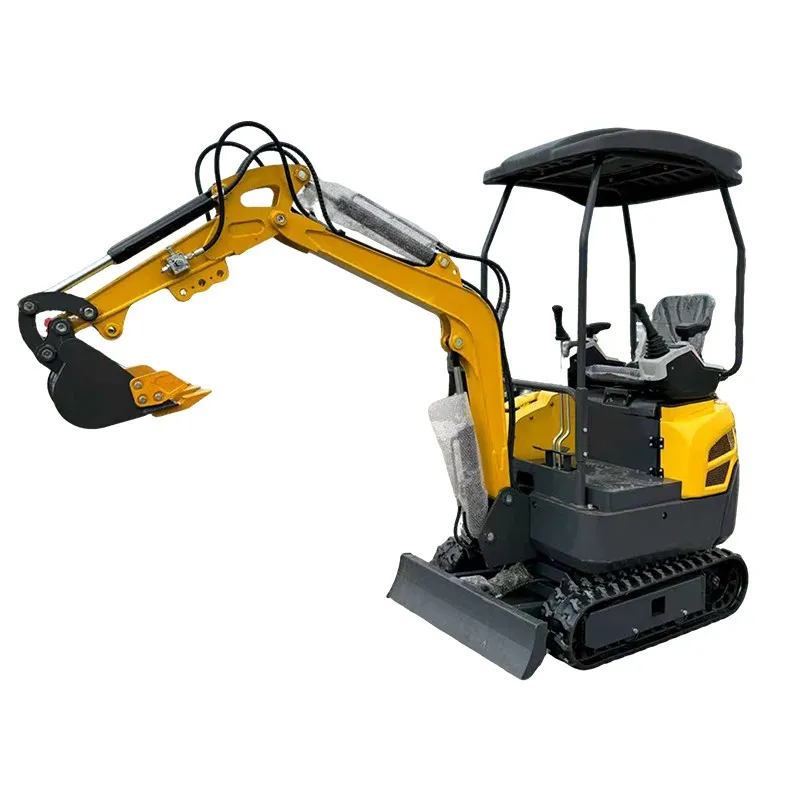
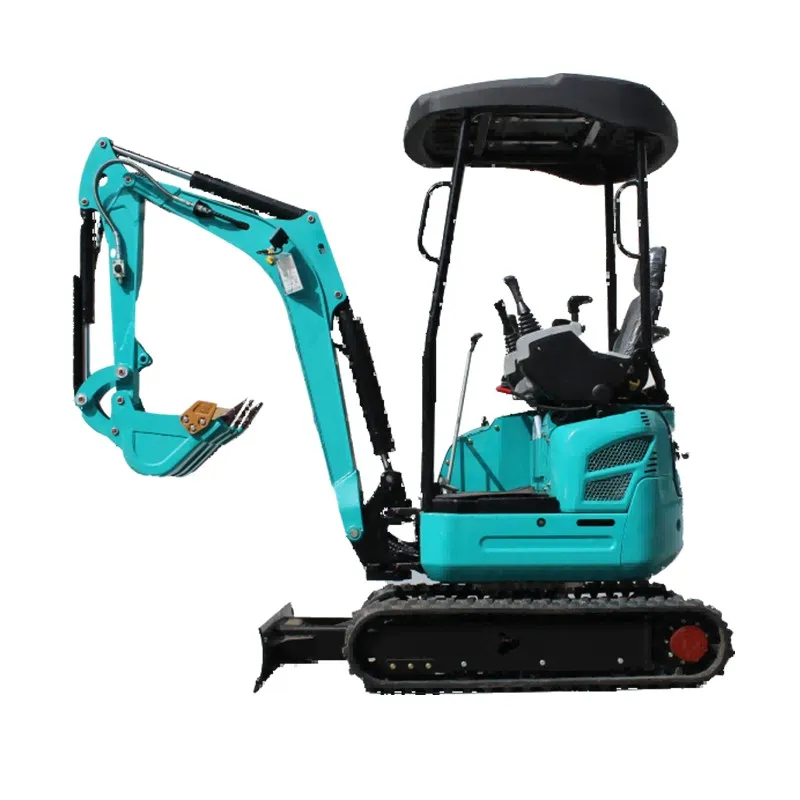
mini excavator bucket
You look at a mini excavator bucket, and most folks just see a hunk of metal. They get hung up on the numbers—width, capacity, pin size. That's the first mistake. The real story is in the dirt, the grind, and the thousand little decisions that turn a bucket from a commodity into the right tool. I've seen too many guys order based on catalog pictures alone and then wonder why it doesn't dig right, or why the side cutters are shot in six months. It's not just about fitting the machine; it's about fitting the job, and more importantly, the material you're asking it to move.
The Geometry That Actually Matters
Let's talk profile. A standard-duty bucket for loose topsoil is a world apart from a heavy-duty one for rocky trenching, even if they list the same width. The curvature of the back, the angle of the floor—these aren't just drawings. A shallow, flatter floor might give you a bigger heaped capacity on paper, but it sacrifices breakout force. You'll find yourself curling more, stressing the hydraulics, just to get a decent bite. For tight quarters, like utility work next to a foundation, I often spec a narrower bucket with a more pronounced curve. It lets you dig a cleaner, vertical wall without having to constantly reposition the machine. It's a trade-off: you carry less per pass, but you waste less time fixing the trench line.
Then there's the lip. The factory-standard single-chisel lip is fine for general use, but it's a compromise. In mixed debris—think urban demo with chunks of concrete and rebar—you need a multi-chisel (or spade) lip. It distributes the impact, stops a single point from taking all the abuse and deforming. I learned this the hard way on a site clearing old footings. We were using a standard bucket, and within two days, the center tooth base was pushed so far back it affected the whole digging angle. Had to stop, weld, reinforce—a full day's productivity gone. A spade lip from the start would have cost 15% more but saved that downtime ten times over.
And the ears, the mounting points. This is where cheap buckets fail spectacularly. The reinforcement around the pin holes isn't just extra plate; it's a calculated stress dispersion system. I've inspected buckets where the ears started to elongate, creating slop in the attachment. That slop doesn't just wear the bucket pins; it transmits shock and vibration back into the stick and boom cylinders. You're not just replacing a bucket sooner; you're accelerating wear on the machine's most expensive components. A company that gets this right, like Shandong Pioneer Engineering Machinery Co., Ltd, doesn't just add thickness. They look at the load path. You can see it in their designs—the gusseting isn't uniform; it's heavier where the pivot forces are highest during a side-loading scrape.
Material & The Myth of High Hardness
Everyone asks for high hardness steel like it's a magic phrase. It is, but the magic can backfire. Yes, a harder steel like AR400 or HARDOX resists abrasion better. Your bucket floor will last longer in sandy or abrasive soils. But hardness comes with brittleness. In a rocky application, a high-hardness bucket can crack, especially in the heat-affected zones of the welds. It's a nightmare to repair in the field; you need pre-heating, specific rods, controlled cooling.
I've moved more towards buckets that use a strategic combination. The cutting edge and side cutters are a harder, wear-resistant material, often replaceable bolt-on segments. But the main body, the shell, is a tougher, more ductile grade. It can take impact, deform slightly without cracking. This hybrid approach is smarter. It means you're only replacing the parts that are meant to be consumable—the cutting edge—while the main structure endures. I recall a trenching project in frost-heavy ground. We used an all-HARDOX bucket. It wore like iron, but one afternoon, catching a submerged granite boulder at the wrong angle, we got a six-inch crack right up the back. A tougher, slightly softer main plate would have dented, not shattered.
This is where a manufacturer's experience shows. A factory just punching out product will use one grade for everything—it's simpler. A specialist, like the team behind Shandong Pioneer, understands these application nuances. Visiting their operation, you see the inventory of different steel plates, the separate welding procedures for different sections. It's not the cheapest way to build a bucket, but it's the right way for the bucket to last. Their move to a new, larger facility in Tai’an in 2023 likely expanded this capability, allowing for more specialized production lines.
The Overlooked Details: Welds, Holes, and Finish
You can judge a bucket's potential lifespan before it ever touches dirt. Look at the welds. Are they consistent, with good penetration, or are they just blobs of filler metal sitting on top? The critical welds are at the hinge ears, the corner braces, and where the cutting edge is married to the shell. Poor welds here are stress risers—points where cracks will initiate. A good weld is ground smooth in high-stress areas to reduce that risk.
Then, the auxiliary hydraulic line ports. More and more mini ex jobs need thumbs, augers, or tilt rotators. Does the bucket have reinforced, tapped ports for mounting bracket kits? Are they in a logical place, protected from direct impact? I've modified countless buckets in the field, drilling and welding on mounting plates, because the factory didn't think ahead. It weakens the structure. A bucket designed from the outset for these options has internal reinforcement in those spots. It's a sign the designer has talked to operators in the field.
Even the paint matters. A single thick coat will chip and peel. A proper phosphate pretreatment and a two-part epoxy primer—that's what you see on quality buckets. It fights corrosion from the inside out. A bucket from a reputable global supplier, the kind Shandong Pioneer exports to markets like Germany and Australia, will have this. Their customers in those regions have strict expectations for finish and durability; they won't accept surface rust bleeding through after one season.
Matching the Bucket to the Real-World Cycle
Here's the core of it: you don't choose a bucket for a machine; you choose it for a task within a machine's capability. A 1.8-ton mini excavator digging drainage in soft clay has completely different needs from the same machine loading trucks with crushed rock. For the clay, a wide, flat-bottomed grading bucket or even a ditch-cleaning bucket might be most efficient. For the rock, a heavy-duty, narrow bucket with a strong spine and reinforced side cutters is essential.
We tried to use a standard grading bucket for loading crusher run once. The material was just heavy and abrasive enough that the bucket, being wider and with a thinner shell, started to distort at the top edge. The load would hang up instead of dumping cleanly. We lost seconds every cycle, which over a day adds up to hours. Switched to a smaller, heavier-duty bucket, and while the per-pass load was less, the faster, cleaner cycle time and zero downtime for repairs made it far more productive. The machine also ran smoother, with less strain.
This is the practical knowledge that separates a parts catalog from a solutions provider. A company that has been in the trenches—like Pioneer, which has been developing its product line since 2004—builds this feedback into its designs. They're not just making buckets; they're making tools for specific challenges, which is why their products end up on job sites from Canada to the United States. It's accumulated, iterative knowledge, the kind that comes from twenty years of seeing what breaks and what lasts.
The Bottom Line: Total Cost, Not Sticker Price
So, circling back. When you're looking at a mini excavator bucket, you're not buying a price. You're buying productivity and uptime. A cheap bucket costs you less upfront but can cost you massively in machine wear, fuel inefficiency (from poor digging geometry), repair time, and replacement frequency.
The right bucket feels like an extension of the machine. The digging cycle is fluid, the loading efficient, the dumping clean. It wears evenly, and when parts like teeth or edges do need replacing, it's designed for that to be a simple, bolt-off, bolt-on process. That's the real value.
It comes down to trusting a manufacturer that understands the entire lifecycle. From the design table to the steel mill to the welding station to the final finish, every step is a chance to build in durability or cut a corner. In this industry, the corners always show up later, on the job site, at the worst possible time. The goal is to find the partner whose definition of value aligns with yours—not the lowest initial cost, but the lowest total cost over the years of dirt, rock, and hard use. That's the calculation that matters.
Related Products
Related Products